Can you lie vinyl tile over existing tiles or flooring?
If your current flooring situation is outdated or not fit for purpose, it’s probably time to upgrade. For most homeowners, this signals the start of a lot of work, time, and money. But that’s not strictly true – laying new luxury vinyl tiles, like Amtico, over your current flooring can save the hassle of demolition and removal costs.
This route to fresh flooring has become increasingly popular among homeowners, who are now able to create the feeling of a new space without the disruption of a full renovation.
Whilst this method is more manageable in terms of costs and speed of installation, there are important factors to consider before you begin overlaying. This blog will help you figure out the best solution for you and how to prepare and fit the upgrade.
Why vinyl?
The vinyl tile started back in the 1930s and has adapted hugely within that time to suit modern day homes. It’s one of the most versatile and practical flooring options available today, offering an impressive combination of aesthetics, durability, and functionality.
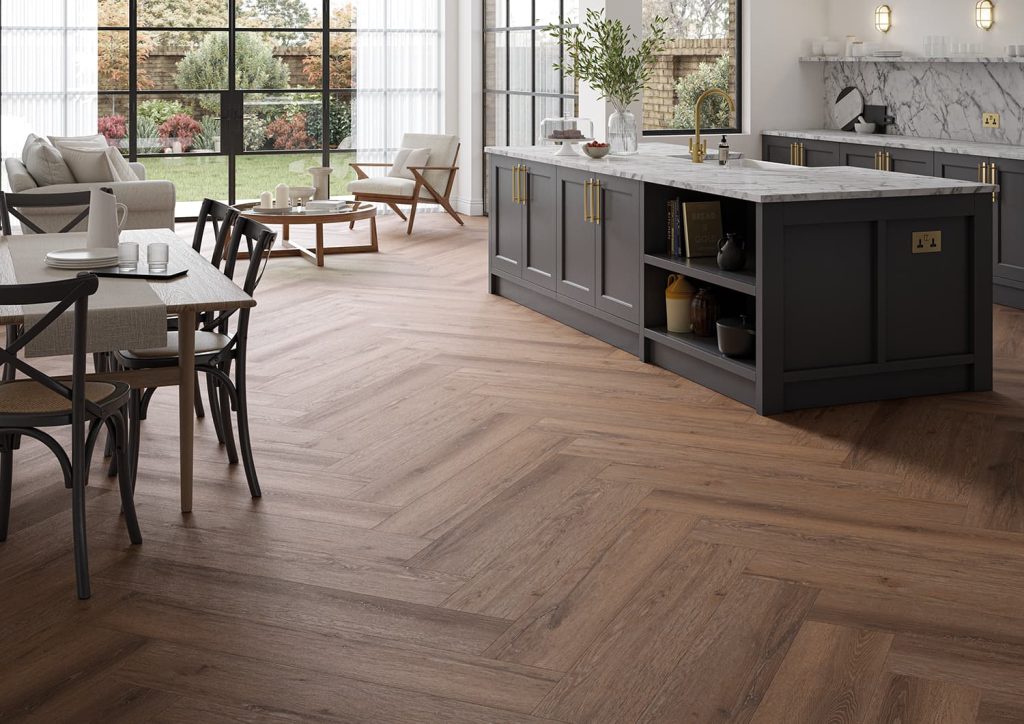
It’s become so attractive because of its ability to mimic high-end materials like wood and stone with realistic textures and patterns, whilst requiring little maintenance. It’s also waterproof, making it suitable for busy and dirt-prone spaces like kitchens, bathrooms, and basements, yet can be cleaned in a simple sweep and mop.
Things to consider before laying LVT on existing flooring
Before you start exploring replacement designs, you need to assess the condition of your current flooring. This will determine whether it has the stability and correct levelling to have vinyl tiles fit on top, safely.
Look carefully for cracks, loose tiles, or areas where the existing flooring has shifted or become uneven. These damages will have to be re-secured or replaced prior to installation, otherwise they will telegraph through the vinyl and create weak spots.
When checking, repairing or removing tiles, remember to keep referring to the surface level. Using a long straight edge or level, you can identify any significant dips or high points in your existing floor. Minor irregularities (less than 3mm over a 1-metre span) can usually be accommodated, but anything deeper requires levelling compound or other preparation work.
A levelling compound can also be used to transform pronounced grout lines into a smooth surface. If you have these in your existing flooring, there’s risk of them creating indentations in your new vinyl and causing damage over time.
Height changes are to be expected when adding vinyl over existing flooring, which can be impractical if you haven’t pre-empted the rise. To avoid problems later down the line, measure the combined thickness of your current floor and the new vinyl to find the total height increase.
With that information, consider how this will affect door clearances, appliances, and transitions to adjacent rooms. You may need to trim doors, adjust positions, or install transition strips where the new floor meets other surfaces. Planning these adjustments early prevents setbacks during instalment.
Although we have disclosed that you can lie vinyl tile over existing flooring or tiles, not all vinyl is suitable. Thick and rigid products generally perform better over imperfect substrates, like luxury vinyl tiles (LVT) with click-lock systems, as they create a floating floor which accommodate minor imperfections.
It’s important to think about what you’re using this space for. If it’s the bathroom that you’re upgrading, look for a tile that has appropriate water resistance ratings. Or if it’s a high-traffic zone, prioritise products with thicker wear layers and strong locking mechanisms.
The laying process
Once you’re confident that your current flooring is viable for vinyl tile overlay, the next step is to get the area ready to start installing.
- Prepare your existing flooring
Remove any dirt, grease, wax, or other residues that could interfere with adhesion. We recommend a degreasing cleaner for kitchen areas for a deep cleanse, which must have completely dried before proceeding.
Secure any loose tiles with appropriate adhesive and fill any cracks with a suitable patching compound. Sand down any high spots and apply levelling compound to low areas if necessary to create the most stable surface you can.
- Plan the layout
Find the centre point of your room and snap chalk lines to create reference guides. Plan your layout to minimise cuts around the room’s perimeter and ensure cut tiles at opposite walls are reasonably equal in size.
When doing so, try to envision the pattern and orientation of your vinyl tiles. Running planks parallel to the longest wall typically makes rooms appear larger, while perpendicular installation can make narrow spaces seem wider.
- Allow your materials to adapt
Your vinyl tiles need time to acclimate to room temperature for at least 48 hours before installation. This prevents expansion or contraction after fitting that could otherwise cause gaps or buckling.
- Instalment
There is an order to this. Start in the middle of the room and work outwards until you reach the walls. This way, your layout remains square, and any cutting adjustments happen at the room’s perimeter where they’re less noticeable.
For adhesive tiles, peel the backing papers and position tiles carefully – adhesives don’t allow for repositioning so it’s important this is done with precision first time. For click-lock systems, engage the locking mechanisms fully and ensure tight seams between tiles.
- Cut tiles to size
Measure and mark tiles carefully for cuts around the room’s perimeter and obstacles. To ensure straight cuts, use a utility knife to score deeply and then snap cleanly. For more complex cuts around pipes or fixtures, create paper templates first to ensure accuracy.
- Fit transition strips and finishing touches
Where the new meets the old flooring, transition strips need to be slotted in to prevent edge damage and provide a professional finish. To complete the installation, replace baseboards or quarter-round moulding and hide any expansion gaps around the room’s perimeter.
Find what’s right for your home
Although laying vinyl tiles over existing flooring has plenty of positives, it’s not the default solution and won’t be appropriate for every homeowner.
The condition of your current floor, the characteristics of your chosen vinyl product, and your long-term expectations impact whether this flooring method is suitable for your situation.
Any flooring refresh is a commitment, so an inspection of your home is crucial before the tiles are laid. Sometimes it helps to get a professional opinion, as they have the eye to spot potential problems that you might miss.
Call an expert, call Langan Carpets
It isn’t just the property itself that is unique, so are all the rooms within it, and what works in one might not be suitable for another.
Our ambitious team of fitters bring decades of experience to every project, carefully assessing the condition of your current floors and recommending the approach that will best deliver the results you’re after.
We’ll take the time to consider your specific requirements, the type of vinyl you’ve chosen, and most importantly, your end vision. To discuss, please contact us on enquiries@langancarpets.co.uk or come and talk to us in person at our showroom in Mere Green.